Files in the Panel
Managing files in the Panel
Files can be uploaded to a page, the site or a user via the Panel using one of the following methods:
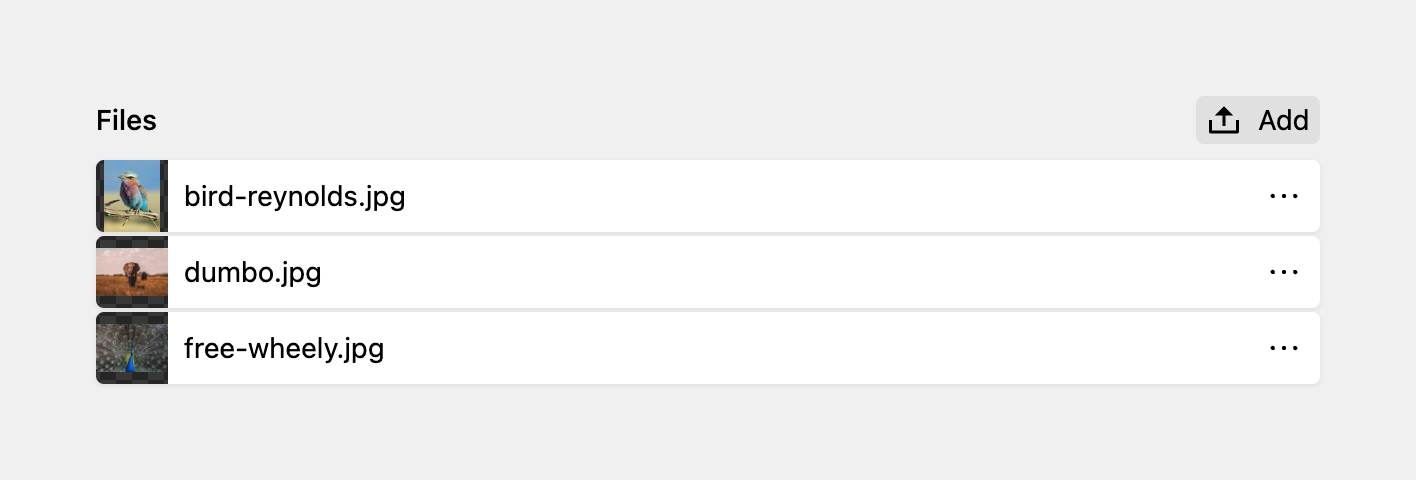
- A files section
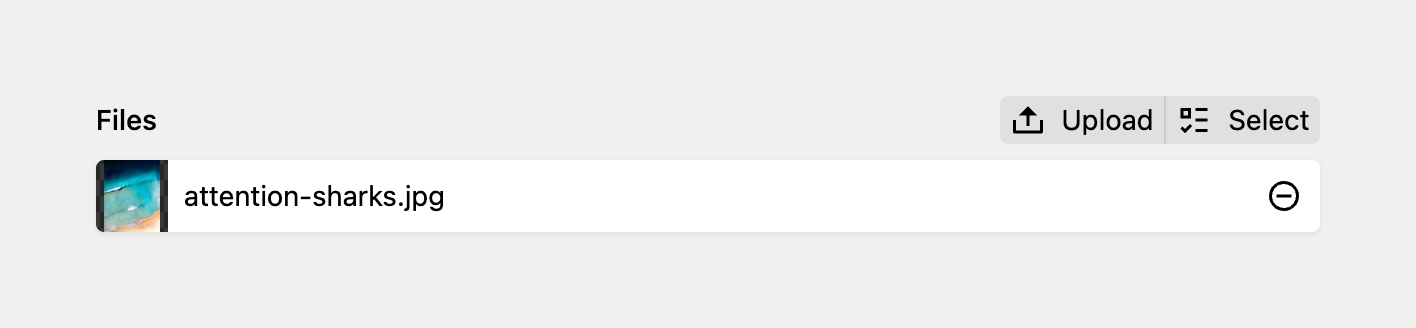
- A files field. The files field is also used inside the image and gallery block types.
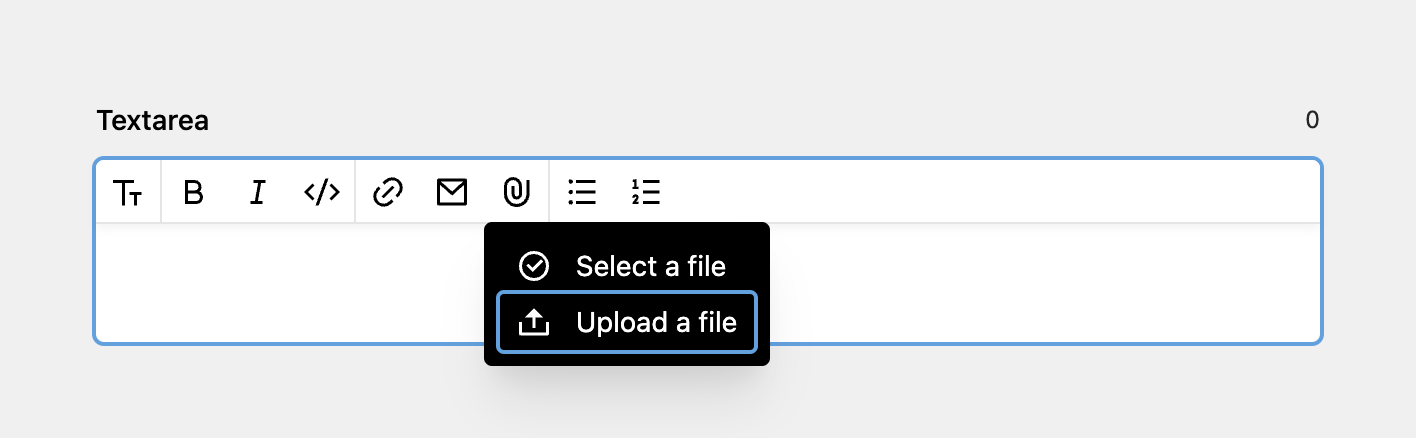
- A textarea field
Depending on the context, as an editor you then click the Add button in a pages section, or select the upload option from the dropdown in a files or textarea field:
A files section helps you manage the files belonging to pages or the site: upload, delete, sort and replace. A files section does not store anything in your content file!
A files field allows you to select one or multiple files out the ones queried as options. The selected file references are stored in the content file of the model in which the field is used. The files field also offers the option to upload files.
The textarea field has an upload option to quickly upload files you want to link to in your content.
Deleting files
Files can be deleted via the delete option in a files section, or via the file view.
Note that if you unselect a file in a files field, this file is not deleted from the parent model.
File names
Kirby will convert the filename of your uploaded file to ASCII characters. This ensures that the filename is URL-safe and can be accessed correctly. After the conversion, the file will be checked against Kirby's internal validation rules as well as against custom rules that were defined in the blueprint. If the file validates, it will be uploaded.
Since 4.0.0
Edit, preview and optimize files at upload
The upload dialog allows you to preview and edit the filenames of the files to upload. This gives you the opportunity to gives your files useful names, which will make it easier to find the right file later.
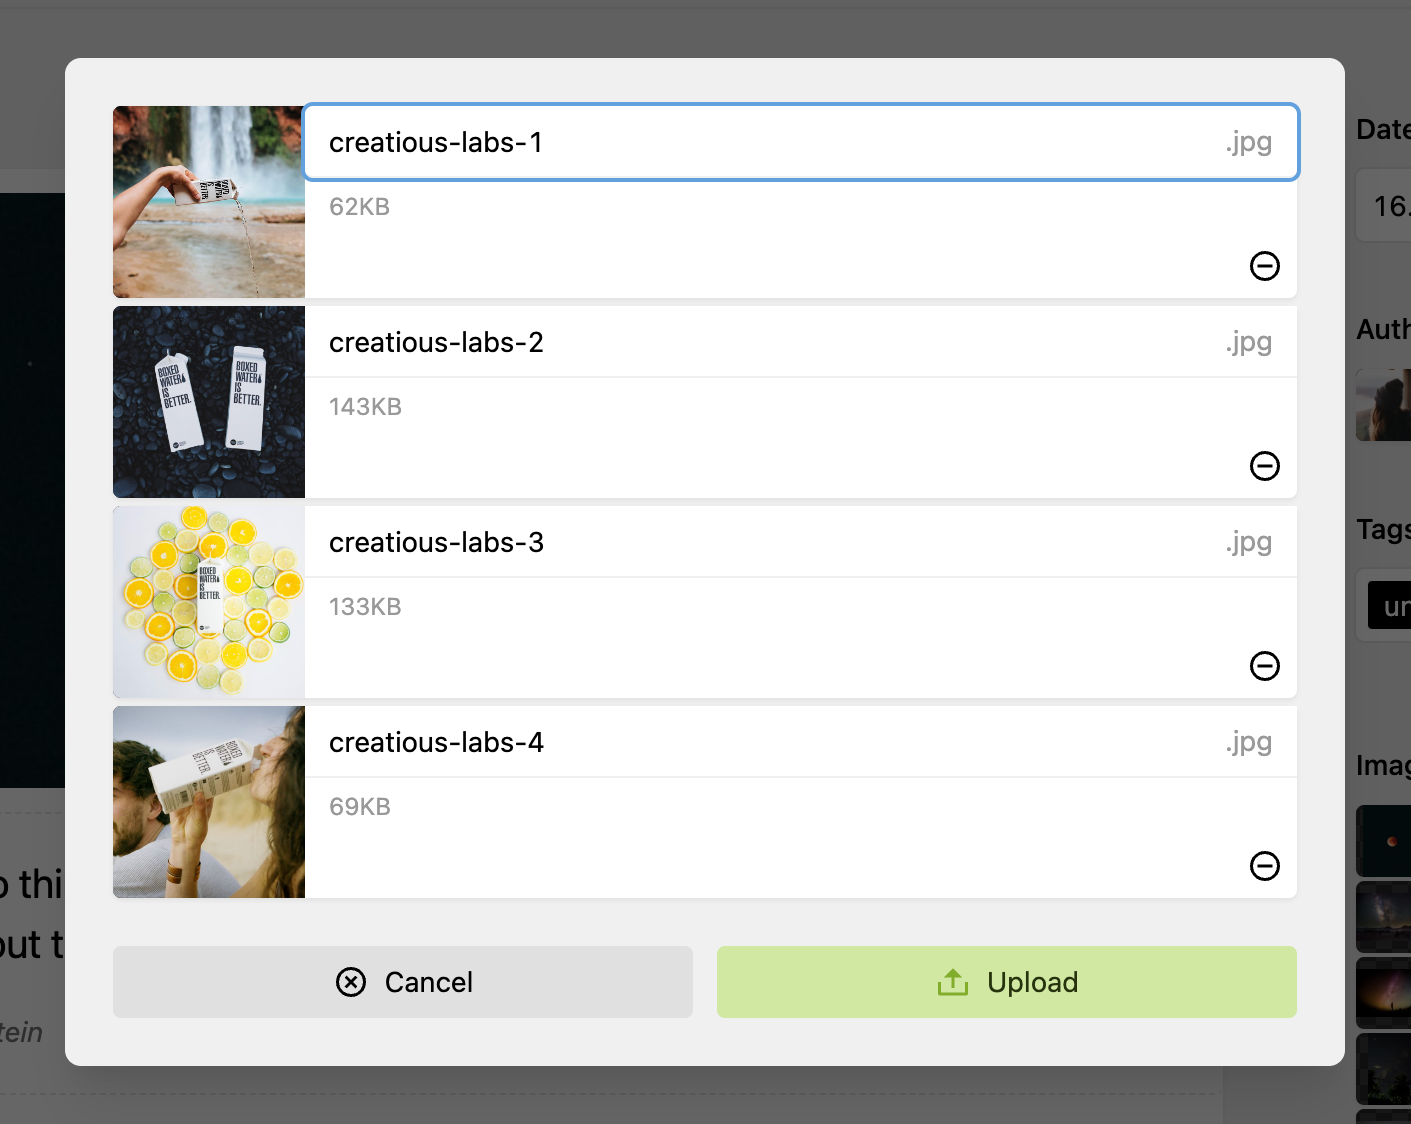
In your file blueprints, you can also set options for optimizing uploaded files. These options will be applied directly after upload, and they are a great way to avoid huge original files in the content folder.
File blueprints
Metadata fields for files to be used in the Panel are defined in file blueprints. They are stored in /site/blueprints/files.
Depending on whether you use a files section or one of the fields to upload files, the way how you assign a file blueprints to a file, differs slightly, see field/section links at the top of this page for details.
A typical files blueprint looks like this:
title: Image

accept:
  mime: image/jpeg, image/png, image/svg+xml

fields:
  alt:
    label: Alt Text
    type: text
    width: 1/2
    required: true
  link:
    label: Link
    type: url
    width: 1/2
  caption:
    label: Caption
    type: textarea
For details of creating a file blueprint, see the file blueprint options
Since 4.0.0
Change file template
You can change the file template currently assigned to a file to any template that is available for files in the file parent (sections, fields, textareas)
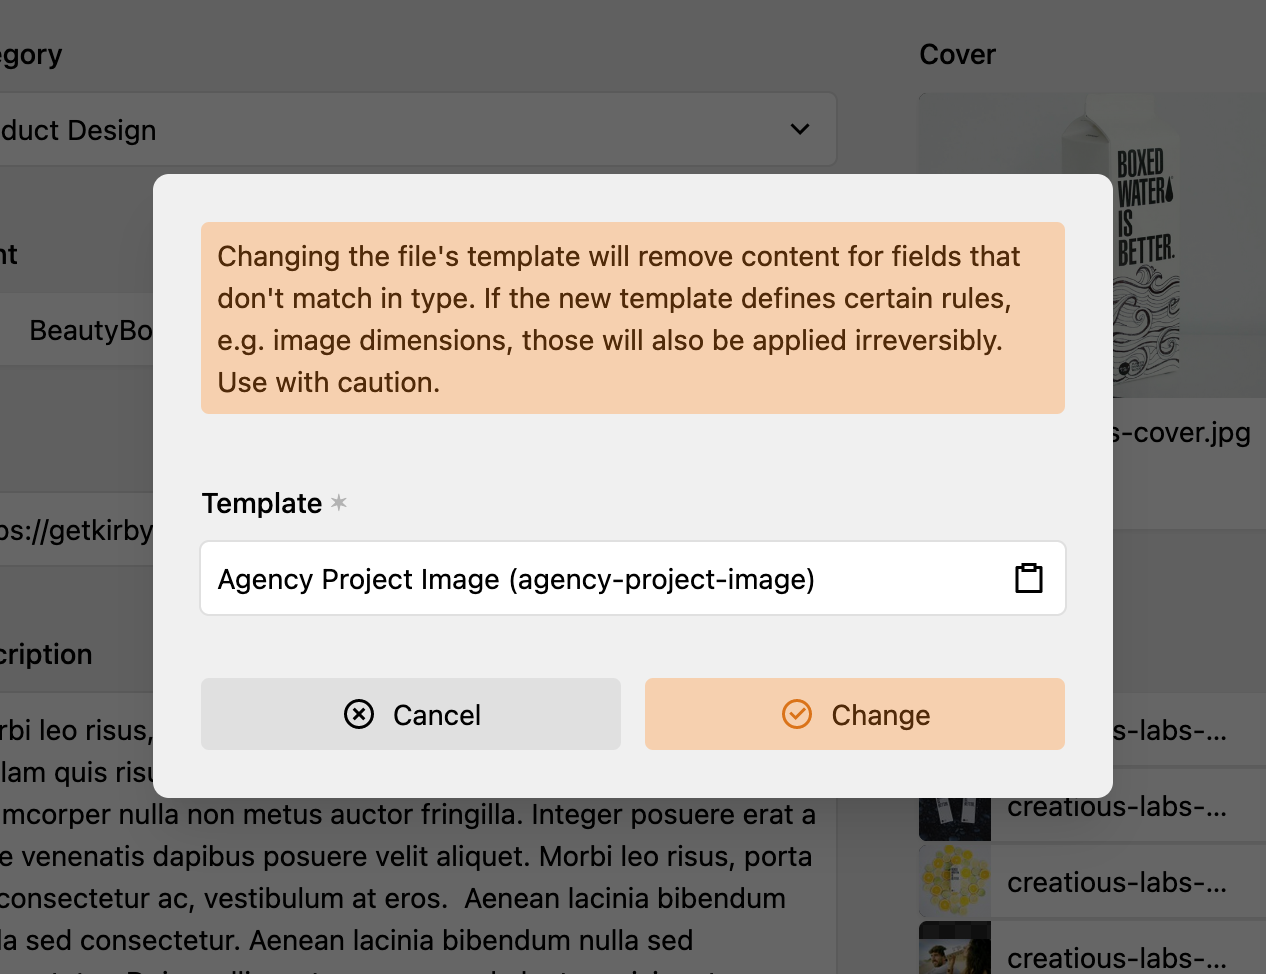
Changing the file's template will remove content for fields that don't match in type. If the new template defines certain rules, e.g. image dimensions, those will also be applied irreversibly. Use with caution.